Building a Rep Fitness Plyo Box for Endurance Training

- Home gym enthusiasts looking to add a plyo box to their setup
- Anyone weighing whether they should DIY or buy a wooden ply box

My winter training has grown a bit stale.
I want to throw in some CrossFit-style functional workouts into my training to spice things up. A couple of WODs per week is a great way to build functional fitness. The anaerobic spikes are a solid compliment to the winter zone 2 base building on the indoor trainer.
All of this is to say - I’ve been fighting the itch to build out my basement home gym for the last few months.
We just moved into the house a few months ago. I specifically chose the home for the deep foundation pour - it’s almost as if the builders designed it with a basement gym in mind.
I wanted to build out the home gym from day 1. And if we’re being honest, I’ve been planning this gym for years. But, some other expenses took priority, so I’m just now picking up some essential training tools.
I haven’t been able to incorporate box jumps into my WODs. I figured it was time to level up my training.
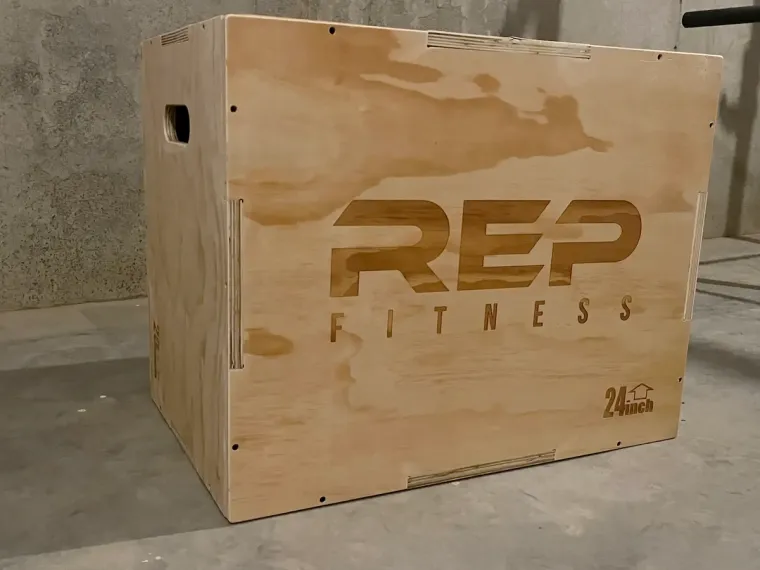
I finally took the plunge and ordered a wooden plyo box from Rep Fitness for my basement gym setup.
I thought about going the DIY wooden plyo box route but ultimately decided against it. I managed to snag this plyo box for ~$120 with free shipping.
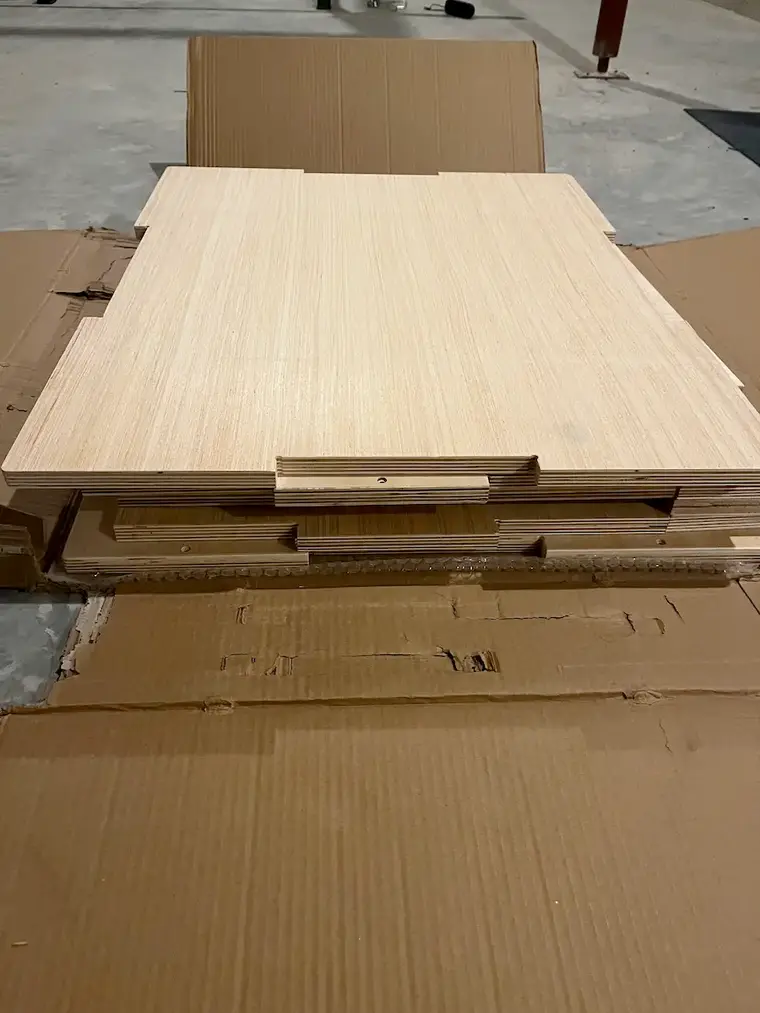
The pre-cut kit arrived last week - just a flat pack of pre-cut wooden pieces and some screws. The box is heavy - nearly 60 pounds. They ship it flat to cut down on shipping costs.
Building the Rep Fitness Wooden Plyo Box
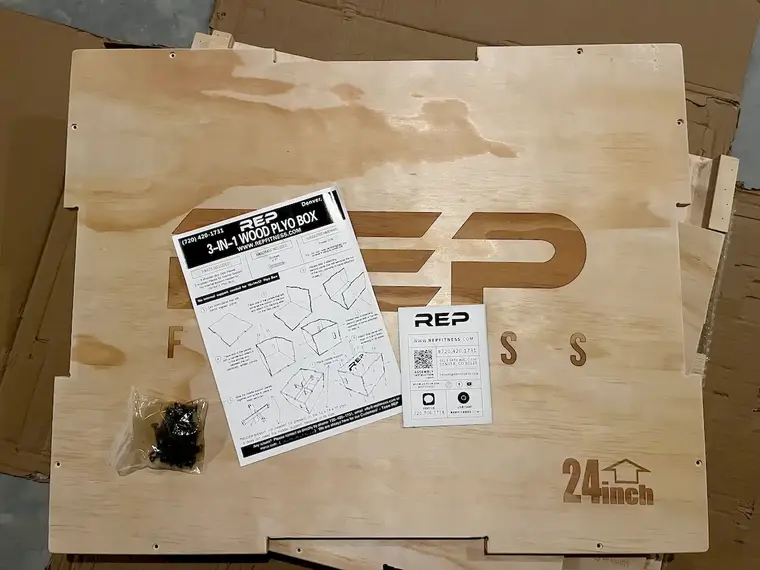
The instructions are better than most. I like that they include the option to contact the company using morse code. Unfortunately, I didn't need to test this out, so I can't vouch for their responsiveness.
I was able to assemble it by myself without issue in about 15 minutes using an electric drill. It would probably take a lot longer if you're using a screwdriver.
I even made the mistake of assembling without the internal support crossbeams. Pro tip: don't do that.
Instructions Close Up
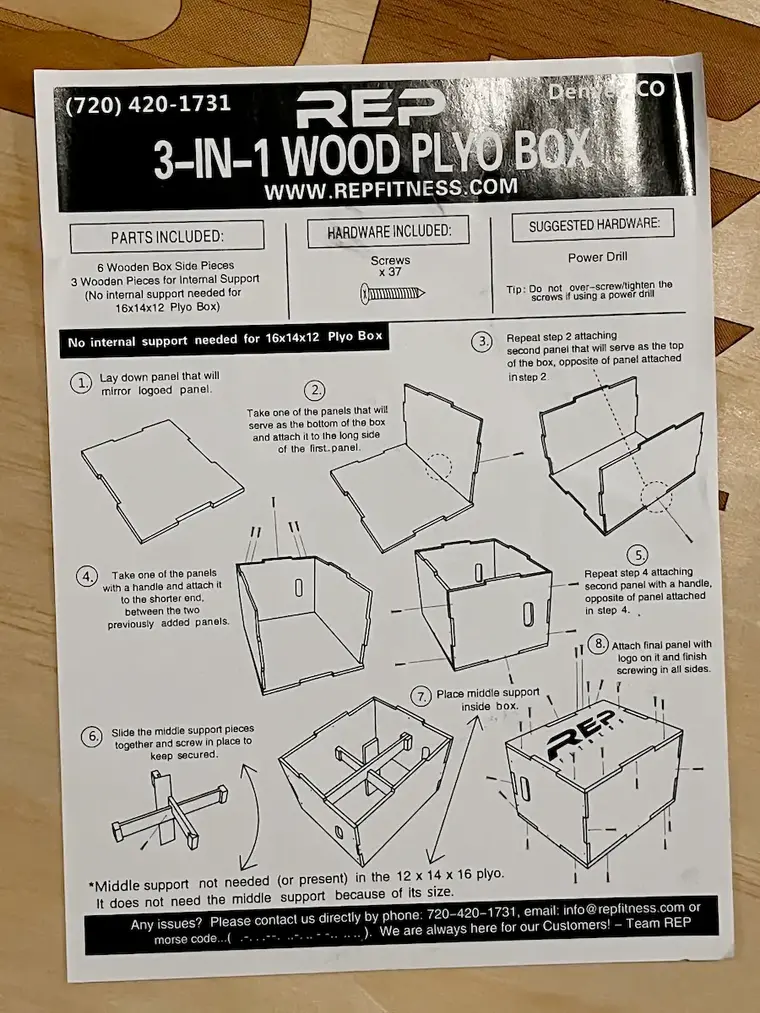
The assembly was pretty straightforward, though getting those first few corners square took some minor concentration. The key is not to fully tighten any screws until you've got all sides loosely connected. That way you can make adjustments to keep everything aligned.
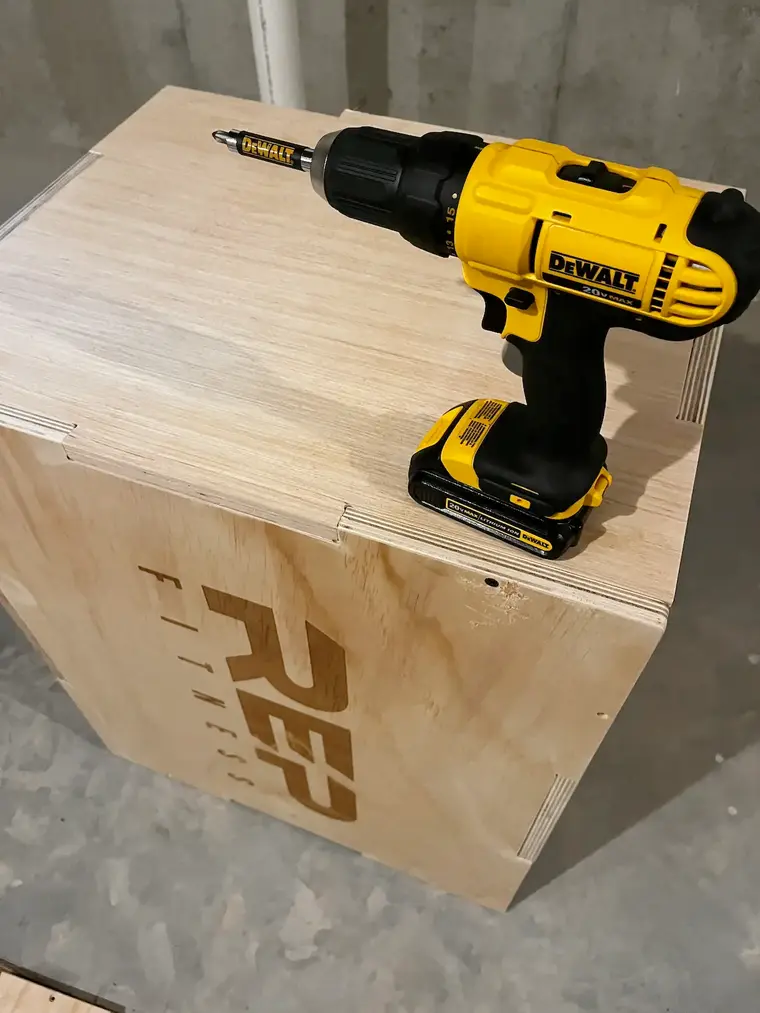
And 15 minutes later, and voilà - one sturdy 20/24/30" plyo box ready for action! I assembled it by myself without issue.
I already tested it out with some step-ups, and it feels solid. The screeching sound it makes when scraping across my concrete floor? Not so great. Seems like a good excuse to order those horse stall mats!
Shipping Damage
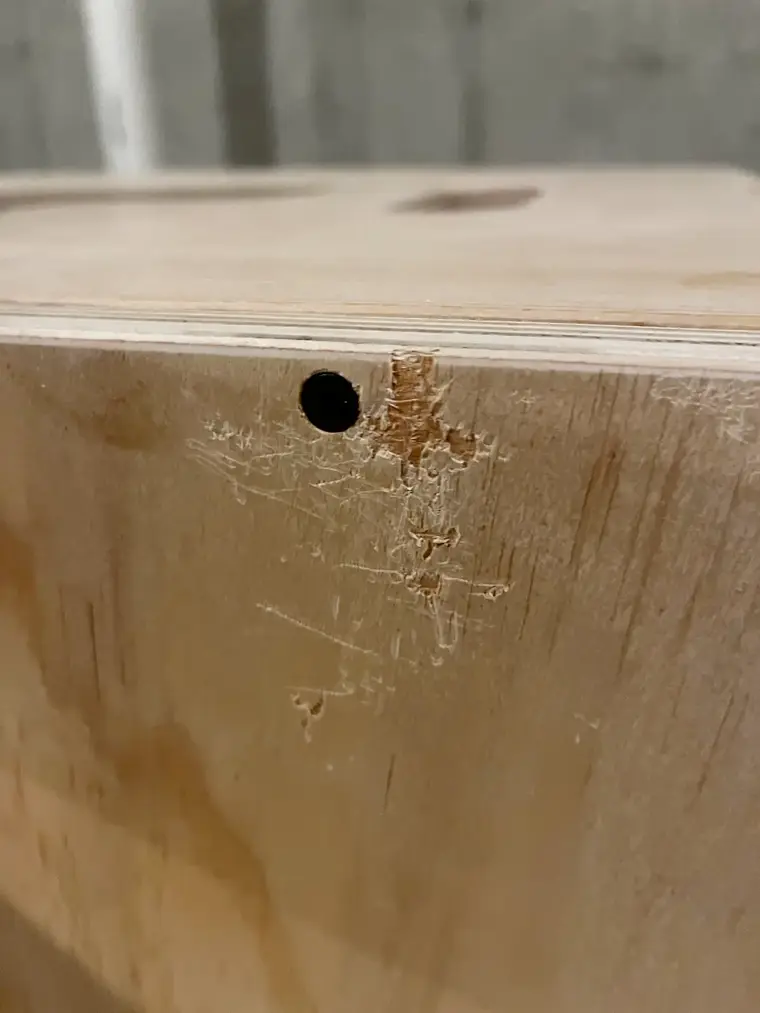
My plyo box arrived with some minor damage. I am not bothered, but it's worth noting for those who might be more particular than I.
Recommendation
Build explosive strength and power - add a wooden plyo box to your home gym!
